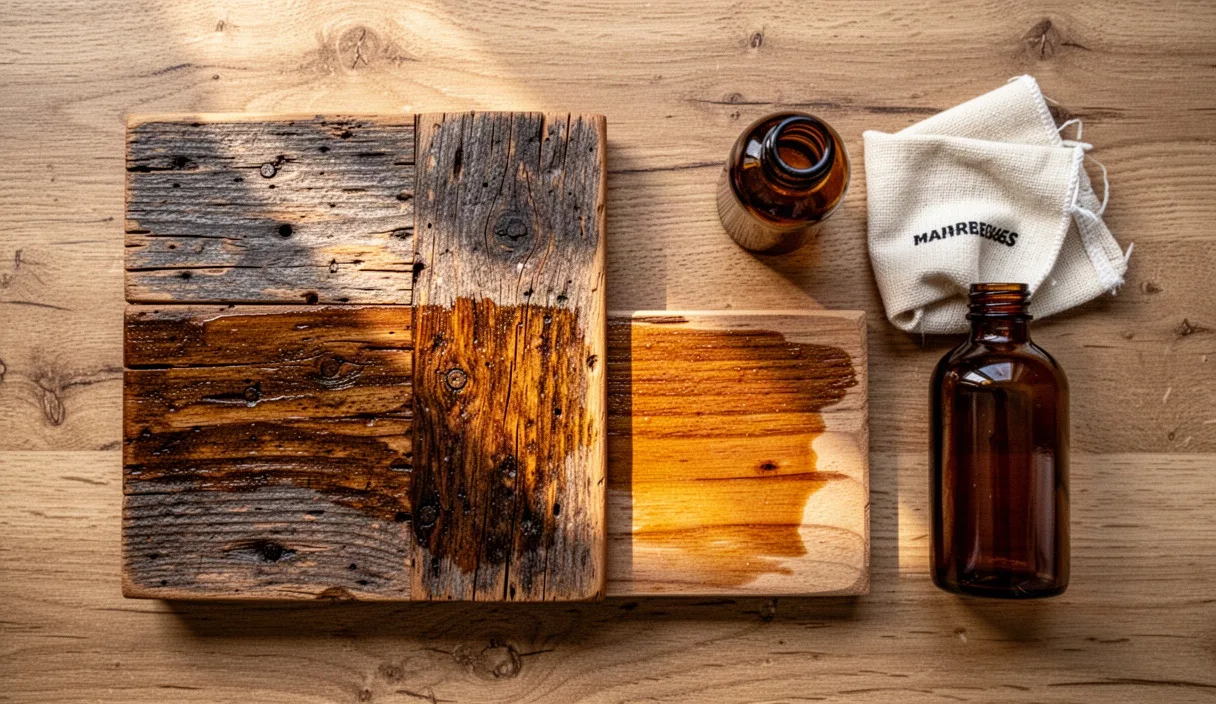

Salvaged timber brings a depth of character that fresh lumber cannot match. Old floor joists, barn rafters, and factory decking often feature tight annual growth rings, nail holes, deep oxidation, and slight saw marks from nineteenth-century blade teeth. When you turn that wood into a kitchen table, however, you ask a retired structural beam to survive greasy salad dressings, spilled wine, hot tea mugs, and wet homework. Modern film finishes like polyurethane provide thick plastic shells, but they detach the user from the raw feel of the wood and make minor repairs an ordeal involving chemical strippers or belt sanders.
Natural drying oils offer a traditional, repairable alternative. Unlike non-drying pantry oils that eventually go rancid and sticky, natural drying oils cure through polymerization when exposed to oxygen, shifting from a liquid to an elastic, solid matrix embedded directly inside the wood cells. The result is a water-repellent, tactile surface that preserves the patina of reclaimed lumber. Choosing the right oil and applying it with disciplined patience will keep your kitchen table working hard without trapping its history under an artificial plastic gloss.
Comparing Drying Oils for Everyday Tabletops
Not every product sold with the word oil on the label will work on a kitchen work surface. Non-drying oils like standard mineral oil never harden; they stay liquid, wash out with mild soap, and need weekly applications. Semi-drying oils such as walnut oil can work, but they cure slowly and can pose severe allergy concerns in shared dining spaces. For salvaged kitchen furniture subjected to daily wipe-downs and family meals, four distinct categories of drying oils dominate the workshop.
Pure tung oil comes from the pressed nuts of the tung tree. It support into one of the most water-resistant natural finishes available, resisting yellowing better than flax-based oils. It dries with a flat, matte appearance that highlights old saw marks without creating artificial glare. The trade-off is cure speed: unadulterated tung oil takes days per coat to polymerize and requires four to six applications to build an adequate barrier. Raw linseed oil, pressed from flax seed, is even slower, often taking weeks to cure in damp weather, which makes it impractical for active dining spaces.
Boiled linseed oil, known widely as BLO, is raw linseed oil treated with metallic chemical driers (often manganese, cobalt, or zirconium) to accelerate drying within 12 to 24 hours. It provides a warm, rich amber tint that looks wonderful on reclaimed white oak and heart pine. However, the heavy metal driers mean the table must achieve a complete cure before coming into direct contact with uncovered food. Polymerized oils are heat-treated in oxygen-deprived kettles to pre-link the molecules, providing faster curing times without chemical driers, bridging the gap between pure raw ingredients and industrial shop convenience.
| Oil Type | Curing Speed | Water Resistance | Color Shift | Practical Suitability |
|---|---|---|---|---|
| Pure Tung Oil | Slow (3 to 7 days per coat) | High | Neutral to slight amber | Exceptional for daily kitchen spills, highly water-repellent |
| Raw Linseed Oil | Extremely slow (several weeks) | Moderate | Deep golden honey | Poor for kitchens; prone to mildew and surface gumminess |
| Boiled Linseed Oil | Fast (12 to 24 hours) | Moderate to low | Strong amber | Good for dry worktables; requires coaster discipline |
| Hardwax Oil Blends | Fast (8 to 12 hours) | High | Clear, amber, or tinted | Excellent balance of oil depth and carnauba wax protection |
Hardwax oils combine vegetable oils like linseed and sunflower oil with natural waxes, primarily carnauba and candelilla. These formulations allow the oil to sink into the wood pores while the microscopic wax platelets rest on the surface, sealing the cellular structure against liquid standing pools. For salvaged tables with deep open grain, hardwax systems offer superior resistance against coffee rings while maintaining a tactile, natural wood texture.
Surface Preparation and Grain Raising
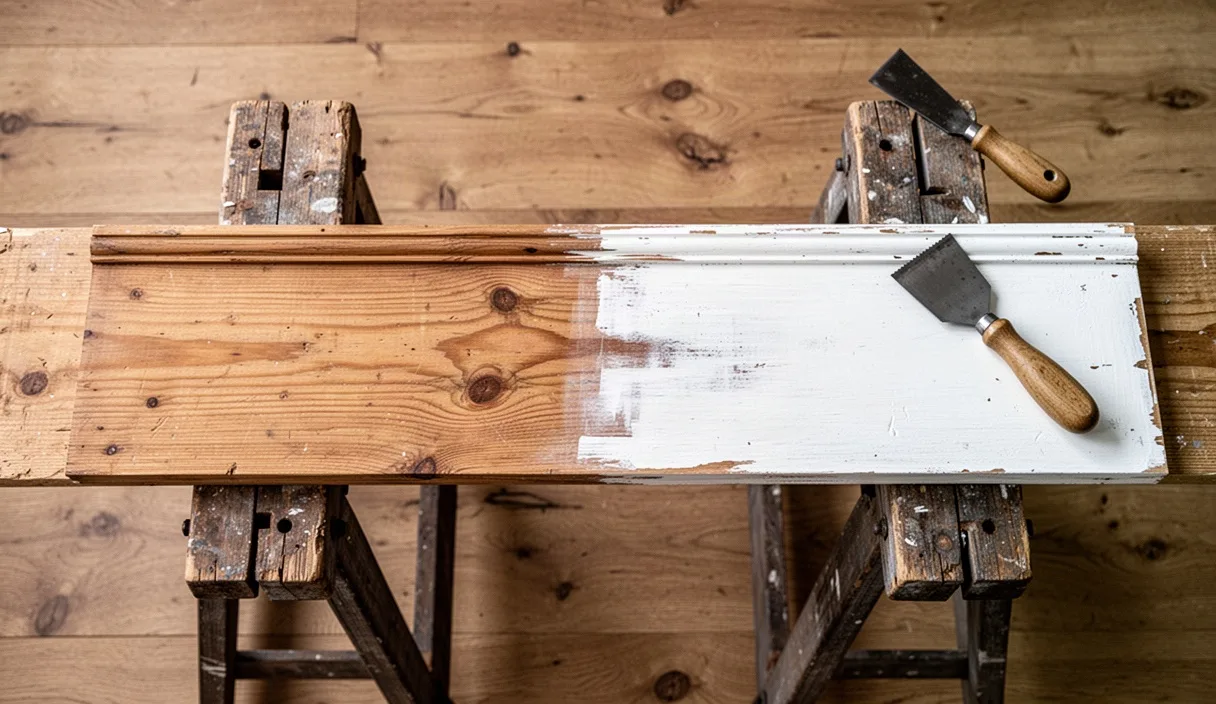
Salvaged timber holds surprises beneath its grey surface. Before opening an oil can, you must remove decades of soot, grease, and old paint residues. If you suspect pre-1978 paint remains in the crevices, use an approved test swab before running any power tools. Lead exposure demands strict abatement or professional containment rather than casual garage sanding. Once safety is settled, clean the wood with warm water and a splash of pure vegetable-based liquid soap, scrubbing with a stiff nylon brush. Avoid wire brushes on soft species like reclaimed Douglas fir, as steel bristles tear away the soft earlywood and leave unnatural gouges.
Sanding salvaged lumber requires restraint. If you sand an old table completely flat with aggressive coarse grits, you erase the authentic circular saw blade marks, hand-adze divots, and deep sun-fading that made you choose the board in the first place. Begin with 120-grit paper on a random orbital sander to knock down sharp splinter hazards and rough spots, moving steadily with the grain. Transition to 150-grit, and finish at 180-grit.
Stopping at 180-grit or 220-grit is vital for drying oils. Unlike thick varnishes that grip mechanically onto rough surfaces or self-level over smooth grounds, penetrating oils rely on open cellular conduits. If you sand past 240-grit with fine automotive papers, you burnish the wood cells closed, packing them with micro-dust. The oil cannot soak into the lumber, leaving it sitting on top like an oily smear that will not dry.
The final preparation step is raising the grain. When water from a dropped glass strikes dry, sanded lumber, the compressed wood cells swell, causing a rough, fuzzy texture called grain raise. You want this to happen during preparation, not during your first family dinner.
- Dampen a clean cotton rag with distilled water.
- Wipe down the entire tabletop until the timber changes color, but do not leave puddles.
- Allow the surface to air dry completely for roughly 45 to 60 minutes.
- Inspect the surface by hand; it will feel prickly, like fine stubble.
- Hand-sand the table lightly using 220-grit paper wrapped around a hard cork block, making only two light passes in the direction of the grain to shear off the raised fibers without opening new cells.
- Vacuum the tabletop thoroughly, then wipe it with an unwashed microfiber cloth to grab lingering dust.
Applying the First Penetrating Coat
The initial coat sets the foundation for your finish. If you use pure tung oil, its molecular structure is too thick to soak deep into seasoned wood pores without assistance. For this foundational coat, dilute pure tung oil with an equal measure of solvent, using a one-to-one ratio. A high-grade citrus solvent distilled from orange peels provides excellent solvency with less hazardous fumes than petroleum products, though odorless mineral spirits can also be used if your workshop features mechanical air exhaust. If you choose a commercial hardwax oil, follow the manufacturer label precisely; most hardwax systems are engineered to go on straight from the can without thinning.
Pour the mixed oil directly onto the middle of the table or saturate a lint-free cotton cloth, a white non-woven abrasive pad, or a wide natural bristle brush. Spread the liquid across the top, working along the grain lines. Salvaged wood will drink the oil unevenly. Old end-grain, knot holes, and dry mortise pockets will swallow the puddle almost immediately, leaving bone-dry matte patches, while denser heartwood boards will stay wet.
Walk the length of the table with your brush or rag for the next 30 minutes, redistributing the liquid from saturated areas to dry spots. The wood must drink as much as it wants, but it should not be left unattended. Leaving wet puddles on the surface is an invitation to catastrophe. If drying oils sit exposed to room air in thick puddles, the top skin reacts with oxygen and hardens while the oil underneath remains wet, leaving you with an unintended antique fly trap of wrinkled, sticky gum that can only be scraped off with a cabinet scraper.
Between 35 and 45 minutes after the first brushstroke, begin the removal process. Take clean, dry cotton rags (old washed cotton undershirts work best) and wipe the table vigorously. Buff until the surface appears dry to the eye and no oil transfers when you press a clean knuckle into the boards. Check around cracks, nail holes, and joinery lines where excess oil tends to bleed back up as internal air expands. Wipe those pockets dry with a clean shop rag wrapped over a wooden skewer.
Buffing Techniques Between Drying Cycles
After the first wipe-down, the waiting period begins. Polymerization is a chemical curing process, not solvent evaporation. It demands clean air movement and moderate warmth, ideally around 20 degrees Celsius with relative humidity below 60 percent. For thinned pure tung oil, allow 24 to 48 hours between applications. For boiled linseed oil, 24 hours is typically adequate. For hardwax oils, 12 to 24 hours allows the core resins to stabilize.
Before applying the second coat, run the palm of your hand across the dry surface. You will likely feel tiny bumps caused by microscopic wood fibers or falling airborne dust. Addressing these bumps now will build a smooth finish over time.
- Take a fine grey abrasive nylon pad (equivalent to 0000 steel wool) and rub the wood with moderate pressure, moving strictly along the grain. Avoid using genuine steel wool on reclaimed oak or chestnut; stray steel fragments wedge into wood pores and react with the natural tannic acid, creating dark, indelible purple-black chemical stains the first time water is spilled.
- Clear away the fine grey friction dust using a dry microfiber cloth or a shop vacuum fitted with a soft horsehair brush attachment.
- Mix your second coat with less solvent. For pure tung oil, transition to two parts oil and one part solvent. For the third and fourth coats, apply pure, unthinned oil.
- Apply the oil thinly, let it sit for 20 minutes, then buff it off with dry cotton rags until the timber feels dry and warm from friction.
- On the final coat, switch to a piece of clean automotive polishing fleece or heavy cotton canvas. Buff with firm, rhythmic arm pressure. This manual friction burnishes the curing solids, imparting a low-sheen satin luster without adding synthetic topcoats.
Ongoing Maintenance for Scratches and Rings
A natural oil finish is an active, repairable defense system rather than a permanent shield. Hot coffee mugs without saucers, water glasses left overnight, and slicing bread directly on the tabletop will eventually create blemishes. The genius of a penetrating finish is that damage remains local. Polyurethane cracks, flakes, and turns milky across broad swaths when moisture gets under it, but an oiled table can be refreshed in small sections over an afternoon.
Daily cleaning requires nothing more than a damp cloth and a drop of neutral, non-degreasing liquid soap. Avoid harsh commercial spray cleaners, dish soaps containing strong citrus-oil degreasers, or abrasive scouring pastes, as these chemicals strip the natural fatty acids and dry out the wood pores. If the timber starts looking pale and chalky after a dry winter, rub a thin layer of maintenance oil or wood balm across the entire surface using a soft rag, let it rest for 15 minutes, and wipe it dry.
When someone leaves a wet glass on the table and produces a white ring, water is trapped in the upper micro-pores. To remove it, apply a small puddle of your maintenance oil or walnut oil directly onto the ring. Rub the spot firmly using a piece of grey abrasive pad along the wood grain until the haze disappears, blending outward into the surrounding wood. Wipe the excess oil clear with a rag. Within a day, the repair will blend with the surrounding patina.
For deeper scratches caused by dragged stoneware, spot-sand the gouge by hand with 180-grit paper, feathering the edges outward into the surrounding timber by two or three inches. Knock the dust away, dab the bare wood with a drop of drying oil, wait 20 minutes, and buff it out. Reapply the oil twice more on consecutive days. Because there is no plastic film edge to show a line, the new oil binds to the previous coats invisibly.
Common Mistakes
The simplicity of oiling wood often leads woodworkers to rush or skip precautions. The most frequent errors can permanently ruin a project or create genuine hazards in the workshop.
- Improper rag disposal: Curing drying oils release heat through oxidation. A crumpled, oil-soaked pile of rags trapped in an unventilated bin will generate heat until it combusts spontaneously. Always submerge used rags in an airtight metal can filled with water, or lay them flat and unfolded on an outdoor concrete pad to dry completely rigid before throwing them away.
- Leaving heavy oil puddles: Drying oils do not build layers like marine varnish. If you leave wet spots hoping for a glossy finish, the puddle will turn into a wrinkled, rubbery film that refuses to dry and must be scraped off to bare wood.
- Applying oil to damp salvage timber: Reclaimed wood brought indoors from an unheated barn often holds high moisture content deep inside its core. If you seal timber with a reading over 12 percent moisture on a pin-type meter, the trapped water can cause mildew spotting, board warpage, or cloudy oil curing. Let the boards acclimate in your conditioned living space for several weeks first.
- Confusing food prep with dining surfaces: A dining table finish needs occasional wiping and stain resistance, which pure drying oils handle well. However, if your salvaged kitchen table doubles as a butcher block where you cut raw meat directly on the boards, seek an NSF-approved food-contact oil or pure food-grade white mineral oil instead of metallic-drier blends.
Next Steps in Your Workshop
Before committing your chosen finish to the top of an irreplaceable historic tabletop, test the full system on an offcut or on the underside of the table. Prepare a 10-inch test patch with your exact sanding sequence, grain-raising process, and the specific oil you intend to use. Reclaimed wood often reacts idiosyncratically; pine knots, historical trace chemicals, and native tannins can shift colors unpredictably once wet with oil.
Once you are happy with the test piece, calculate your supplies. A standard 6-foot kitchen table rarely requires more than 500 milliliters of oil for an entire four-coat schedule. Acquire clean cotton cloths, plenty of clean grey abrasive pads, fresh safety gear, and a proper metal bucket for water-submerged rag disposal. Clear three to five days on your project calendar where the table can remain in a warm, dust-free space with good ventilation, and begin the transformation.